By twirling small strips of paper, you can create awesome gift tags, ornaments, and cards.
What You Need
- Cardstock
- Clear-drying craft glue
- Small hole punch
- Colored markers
- Colored and white paper (leftover scraps and old holiday cards and gift wrap)
- Paper cutter (optional)
- Round toothpick or quilling tool (available in craft stores)
- Ribbon
- Ruler
- Scissors
- Twigs
What You Do
- Cut paper strips
Cut the paper into long strips about 1/4 inch wide. Or, if you have a paper cutter, ask an adult to do this to save time. - Curl the paper
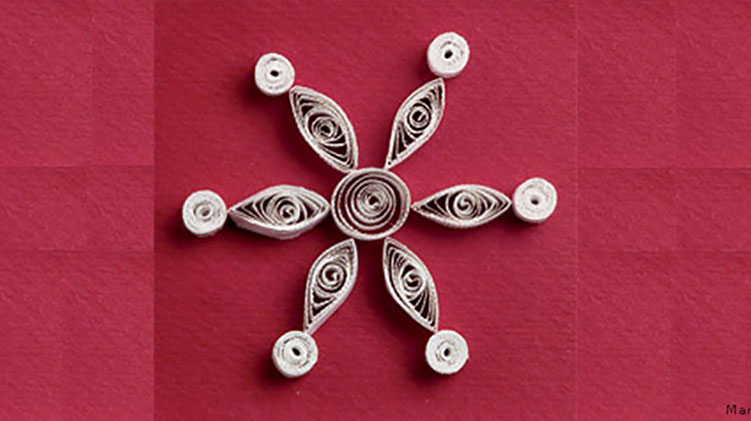
Wrap one end of a paper strip around the toothpick or quilling tool and keep wrapping until you reach the end. - Shape the curl
Gently pull the coil off the toothpick or quilling tool while holding it firmly in its curled-up shape. For a tight coil, glue the end of the paper to the rest of the coil. For a looser coil, let the coil unwind a little before gluing. Hold the end of the strip in place for a few seconds until the glue dries. To make a teardrop shape, pinch one end of the loose coil. For a petal or leaf shape, pinch both ends.Arrange the twirled paper - Arrange the coils on a piece of paper. If you want, use a larger piece, folded over, for a card. You can create designs as shown or make up your own. Add any other touches you want, such as a twig for the Christmas tree trunk, punched paper dots for the snowman and tree, and pinched paper strips for the cardinal’s beak and feet. Then glue them on.
- Hang up your designs
If you like, turn your creations into ornaments like the Christmas tree by cutting around the twirled design. Glue on a loop of ribbon for hanging.
For gift tags or cards, use magic markers to write your message.
Watch your family and friends start twirling in delight when they see your paper twirls!
Craft by Michele Reyzer
Quilling designs were inspired by the book, Twirled Paper, by Jacqueline Lee and the editors of Klutz. Used with permission, © 2005 Klutz®. Visit klutz.com for more fun stuff.