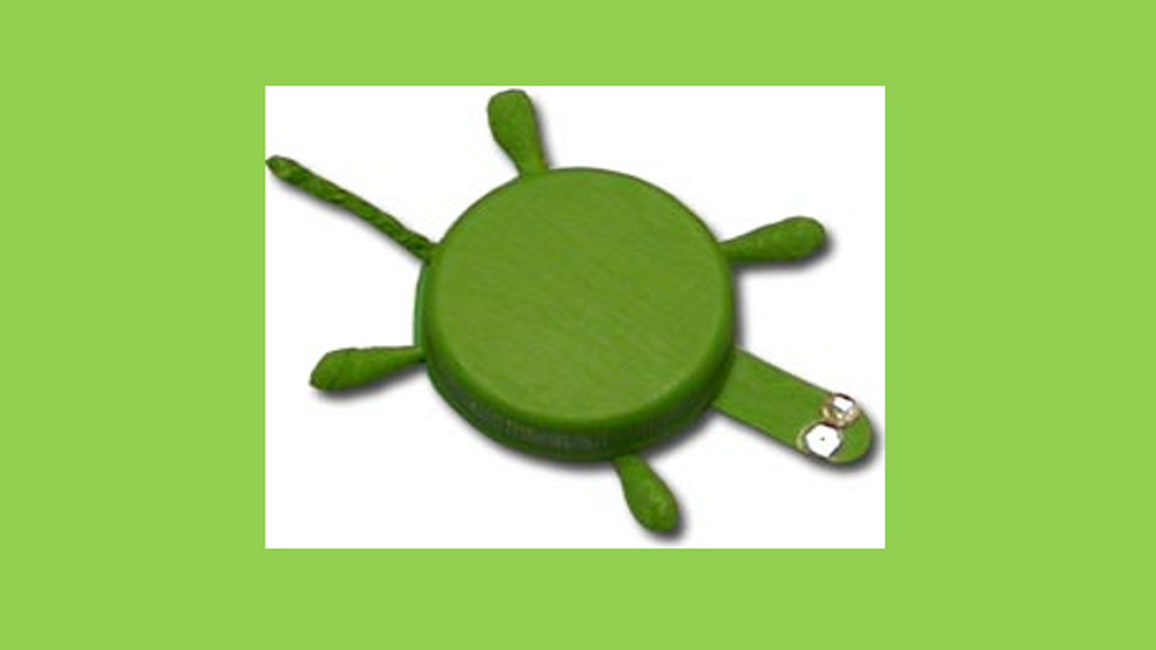
Turn a bottle cap into a tiny turtle!
What You Need
- 2 beads or sequins
- 1 plastic bottle cap (from milk or juice jug)
- 1 piece of green construction paper
- 2 cotton-tip swabs
- 1 craft stick
- glue
- green paint
- paintbrush
What You Do
- Paint the outside of the bottle cap green. (This will be the turtle’s shell.)
- Cut out a green paper circle. Make it just large enough to cover the bottom of the bottle cap.
- Cut out a green paper tail.
- Paint two cotton-tip swabs green. Break or cut each swab in half. (These will be the turtle’s four legs.)
- Snap off an end of the craft stick for the head.
- Assemble the turtle:
- Place the head, legs, and tail in the position as shown in the picture. Glue them to the rim of the bottle cap.
- Put glue around the rim of the cap and stick on the green circle so that the head, legs, and tail poke out of the turtle’s shell.
- Glue on beads or sequins for eyes.

