Use a large carrot to make happy pumpkin paintings.
What You Need
- Apron (optional, to protect child’s clothing)
- Large carrot
- Construction paper scraps in autumn colors
- Glue
- Marker
- Muffin packaging (the mini size works best)
- Newspaper (optional, to protect table)
- Washable orange and green paint
- Small child’s paint brush
- Heavy-duty paper, such as construction paper, in light color
- Rocks
What You Do
- 1.Get some washable orange paint & put it in a recycled cupcake package.
Mini-cupcake packaging is just the perfect size to make a satisfying squirt when you dip in a large carrot.

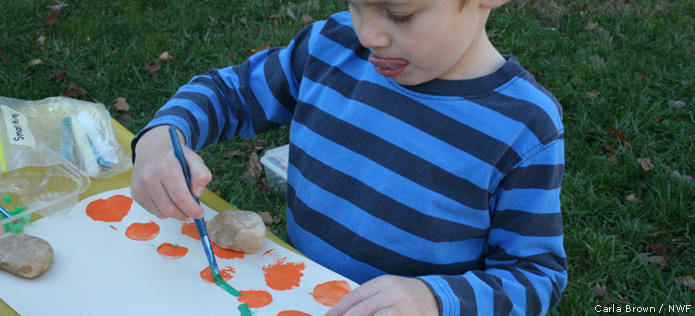
- Have your child make prints with the carrot to represent pumpkins.
If you are doing the craft outside, weigh down their paper with rocks so it doesn’t blow away unexpectedly.
They can put as few or as many as they would like.
They can make it look like a pumpkin patch scene, or go more abstract.

- They shouldn’t need to push hard on the carrot…
But sometimes it’s fun to get a “perfect” print.

- Let the paintings dry for a bit.
Carrots tend to leave a lot of paint on the paper, so if you start painting the vines right away, it can get messy.
Then provide some green paint & paint brushes so the kids can paint vines.

- Rip up little pieces of orange, red, yellow and brown construction paper.
These represent autumn leaves. After the vines have dried, you can glue them around the painting to complete your scene.
Be sure your child writes their name on the craft with the marker, especially if this is activity is done in a group.