Use recycled materials to make a waterproof pad for sitting on the ground during outdoor activities.
What You Need
- Foil packaging from dried fruit or similar products (juice pouches work too)
- Hole punch
- Marker
- Matches
- Rope or twine (similar in weight to clothesline)
- Ruler
- Scissors
- Tape (masking or painter’s tape works best)
What You Do
- Gather enough pieces of packaging to create a nice-sized sitting mat
It might be approximately two feet by three feet in size.
Lay the packaging (from dried fruit or juice pouches) down on a flat surface side-by-side with a slight overlap of approximately 3/4 of an inch.
Put a small piece of tape connecting the first two pieces of packaging.
Use a ruler to measure out where you are going to sew the packaging together, placing the dots about one inch apart.
- Punch holes on the dots you marked with a hole punch
A typical paper-style hole punch will usually punch through this type of material most of the way, but often it leaves a dangling piece that you might need to cut off with scissors.
- Draw the dots on your next bag
To ensure good alignment, lay the bag with holes over top, and use a marker to put a dot.
- Prepare your rope
Lay the rope on top of each “seam” or place where the bags meet. Cut the rope into lengths that are about a foot longer on each side than the full width of your sit-upon.
Nylon-type rope can work well because it is waterproof. However, when you start sewing with that rope, the strands that make up the rope can start to unravel, making it difficult to poke through the holes.
If you melt the end of the rope with a lit match, it will make the sewing go easier.
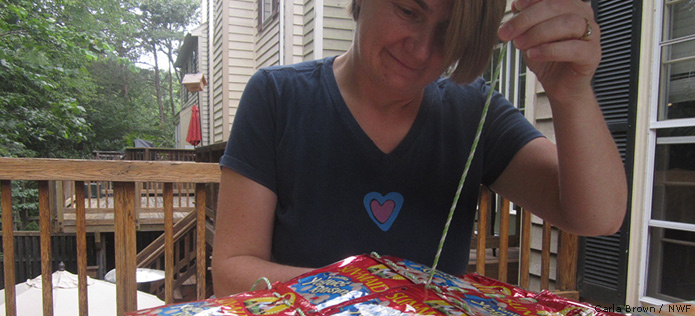
- Sew the panels together
You don’t need a needle to do the sewing. You can just push the rope through the holes with your fingers.
- Once you sewn a full length of a seam, twist the rope back and weave it under the other stitches
This will keep your rope neat and tidy and you don’t have to tie any knots.
- The back of your sit-upon will look like this
See how the ropes are woven back upon themselves?
- A bonus craft – shiny confetti!
If you keep the holes that you punched when making your sit-upon, you will now have multi-colored shiny confetti for other crafts or events.


